Midpoint formula
For two points and in the coordinate plane, the midpoint is the average of the x-coordinates and the average of the y-coordinates: . The video presents this as the halfway point between the two given points.
Mr H Tutoring · YouTube · 4:48
This 120-second clip introduces the midpoint formula for two points in the coordinate plane and works one example. The instructor states that for points and , the midpoint is , meaning one averages the x-coordinates and averages the y-coordinates. He then applies the formula to and , substitutes into , simplifies to , and plots the result on a coordinate grid to show the halfway point visually. In the last few seconds, the board resets to a new heading, “Distance,” and he begins introducing the distance between two points, but the clip ends before the distance formula itself is presented. This video segment introduces the distance formula for finding the distance between two points in a Cartesian coordinate system. It clarifies that the order of subtraction for coordinates does not affect the result due to squaring. A worked example calculates the distance between (-4, -3) and (2, 5), yielding 10. Finally, the video visually derives the distance formula by constructing a right triangle from the coordinate differences and applying the Pythagorean theorem. This video segment demonstrates how to calculate the distance between two points on a Cartesian coordinate plane, specifically (-4, -3) and (2, 5). The instructor visually constructs a right triangle where the horizontal and vertical distances between the points form the legs (lengths 6 and 8), and the direct distance 'd' is the hypotenuse. He applies the Pythagorean theorem (6² + 8² = d²) to solve for d, finding that . This process illustrates the geometric foundation of the distance formula d = √((x₁-x₂)² + (y₁-y₂)²), which is also displayed on the board. The segment concludes with a brief outro screen.
Use the learning inspector for key ideas and moments, or open the reading tabs for the complete notes.
Generated from the video's visuals and explanation; not verbatim speech.
The clip opens with a title sequence and the lesson name “Midpoint and Distance Formula,” signaling that two coordinate-geometry tools will be covered.
The instructor begins with the midpoint. For two points and , he writes the formula and explains it verbally as taking the average of the x-coordinates and the average of the y-coordinates.
He then introduces a concrete example with the points and . A coordinate grid appears, and the two endpoints are plotted so the algebra can be connected to a visual “halfway point.”
Substituting into the midpoint formula gives . Simplifying the numerators and then dividing by 2 yields , which is written on the board and plotted as the midpoint.
The instructor restates the method in procedural form: add the two x-values and divide by 2, then add the two y-values and divide by 2.
The board clears and a new heading, “Distance,” appears with the same generic point notation and . The instructor starts introducing the distance-between-two-points topic, but the clip ends before the distance formula is shown.
The video begins by presenting the distance formula: . The instructor emphasizes that the order of subtraction within the terms and is irrelevant because squaring the result yields the same positive value regardless of the sign.
To demonstrate the formula's application, a specific example is introduced with points and . These points are plotted on a Cartesian grid. The instructor substitutes the coordinates into the formula: . This simplifies step-by-step to , then , followed by , and finally .
The segment concludes by explaining the geometric foundation of the distance formula. By drawing a right triangle where the horizontal leg represents the difference in x-coordinates () and the vertical leg represents the difference in y-coordinates (), the distance becomes the hypotenuse. Applying the Pythagorean theorem () gives , which confirms the algebraic steps shown earlier and establishes that the distance formula is a direct consequence of the Pythagorean theorem in the coordinate plane.
The instructor focuses on the right triangle drawn on the coordinate plane, where the legs have lengths 6 and 8. He states that the hypotenuse represents the distance d between the points (-4, -3) and (2, 5).
He writes the equation based on the Pythagorean theorem: . He then calculates the squares to get , which simplifies to .
Taking the square root of both sides, he solves for d, concluding that . This confirms the distance between the two points.
He references the general distance formula written at the top of the board, showing how the specific calculation aligns with the formula's structure.
The instructor wraps up the lesson, hoping it aids students in their algebra studies regarding midpoints and distances. The video then transitions to an outro screen with subscription buttons and background music.
For two points and in the coordinate plane, the midpoint is the average of the x-coordinates and the average of the y-coordinates: . The video presents this as the halfway point between the two given points.
To compute a midpoint, substitute the coordinates of the two endpoints into the formula, simplify the x-fraction and y-fraction separately, and write the resulting ordered pair. In the example, and lead to .
The clip works the example of finding the midpoint of and . After plotting the endpoints on a coordinate grid, the instructor substitutes into the midpoint formula and obtains , then marks that point on the graph as the midpoint.
After finishing the midpoint section, the board resets to a new heading, “Distance,” with the same generic points and . The instructor begins introducing the distance between two points, but the clip ends before the actual distance formula is presented.
The distance between two points and is given by . Note that the order of subtraction does not matter because the terms are squared.
To find the distance between and , substitute the values into the formula: .
The distance formula is derived from the Pythagorean theorem. The differences in x and y coordinates form the legs of a right triangle, and the distance is the hypotenuse. For the example points, the legs are 6 and 8, so , meaning .
The distance d between two points and is given by the formula . This formula is derived from the Pythagorean theorem.
To find the distance between two points, you can construct a right triangle where the horizontal difference and vertical difference are the legs. The distance is the hypotenuse, found using .
The horizontal leg is and the vertical leg is . Using the Pythagorean theorem: .
Explore conditions, steps and evidence. Supplementary explanations are labeled separately from content shown in the video.
The board shows the ordered pair under the Midpoint heading and again under the Distance heading.
The instructor says, “If we're given x one y one as our first point...”
the first point in the plane, with coordinates and
real coordinate plane
The board shows the ordered pair under the Midpoint heading and again under the Distance heading.
The instructor says, “and x two y two as our second point...”
the second point in the plane, with coordinates and
real coordinate plane
The board displays beneath the example points.
The instructor states that the midpoint is found by adding the x-coordinates and dividing by 2, then adding the y-coordinates and dividing by 2.
the midpoint of the segment joining and
real numbers for
The board adds the concrete point next to the general midpoint setup.
The instructor says, “If we're given an example such as negative four comma negative three...”
the first example point used to illustrate the midpoint formula
specific ordered pair in the coordinate plane
The board adds the concrete point next to the general midpoint setup.
The instructor continues, “and two comma five.”
the second example point used to illustrate the midpoint formula
specific ordered pair in the coordinate plane
The board shows after substituting the example coordinates into the midpoint formula.
substitution of and into the midpoint formula
arithmetic expression
The board writes the simplified result .
The instructor says, “where we get negative one and one as our midpoint.”
(-1,1)
the midpoint of the segment joining and
specific ordered pair in the coordinate plane
After the board clears, a new heading “Distance” appears with and underneath.
The instructor says, “And here is how you find the distance between two points. Again, given x one y one as the first point and...”
The clip ends before the distance formula itself is shown or spoken.
\ (,)
setup for the distance-between-two-points topic using the same two generic points
real coordinate plane
The formula is written as .
The speaker refers to 'd' as the distance between two points.
d
Distance between two points in a Cartesian coordinate system.
Non-negative real numbers
Written as (, ) on the board.
Referred to as the first point.
(, )
Coordinates of the first point.
Real numbers
Written as (, ) on the board.
Referred to as the second point.
(, )
Coordinates of the second point.
Real numbers
The variable d is used in the distance formula and in the Pythagorean theorem steps to represent the hypotenuse of the right triangle.
d
Distance between two points; also the hypotenuse of the constructed right triangle.
Non-negative real numbers
The instructor introduces the lesson as finding “the midpoint and also the distance of two points,” then begins with the midpoint.
The board shows the general midpoint expression .
He explains that one adds the x-values and divides by 2, and adds the y-values and divides by 2, to get the halfway point.
For two points and , the midpoint is obtained by averaging the x-coordinates and averaging the y-coordinates. The video presents this as the “halfway point” between the two given points.
Two points are given in the coordinate plane.
The formula returns the midpoint of the segment joining them.
The instructor repeatedly describes the procedure as adding the two x-values, dividing by 2, then adding the two y-values, dividing by 2.
The worked example on the board follows exactly this substitution-and-simplify pattern.
To use the midpoint formula, substitute the coordinates of the two endpoints into , simplify each fraction separately, and write the resulting ordered pair as the midpoint.
The coordinates of both endpoints are known.
Arithmetic is performed separately on the x-part and the y-part.
The speaker states the formula and explains that the order of subtraction inside the square root does not matter because squaring eliminates the negative sign.
The distance between two points and is calculated using the formula . The order of subtraction for the coordinates does not affect the result since the differences are squared.
Points must be in a 2D Cartesian coordinate system.
The speaker explains that the distance formula comes from the Pythagorean theorem.
A right triangle is drawn with legs of length 6 and 8, and hypotenuse .
The distance formula is derived by constructing a right triangle where the horizontal leg represents the difference in x-coordinates () and the vertical leg represents the difference in y-coordinates (). The distance is the hypotenuse, so by the Pythagorean theorem, , leading to .
Requires understanding of the Pythagorean theorem.
The board displays the text 'Distance' followed by the formula .
The distance d between two points (, ) and (, ) in a Cartesian coordinate system is calculated using the distance formula.
Points must be in a 2D Cartesian coordinate system.
The speaker mentions 'hypotenuse of that triangle' and writes an equation relating the squares of the legs to the square of the hypotenuse.
The speaker writes .
In a right triangle, the square of the hypotenuse is equal to the sum of the squares of the other two sides. This is used here to find the distance between two points by treating the horizontal and vertical differences as the legs of a right triangle.
Applies only to right triangles.
The board shows the substitution and then the simplified result .
The instructor narrates the addition of the x-values and y-values and then states the final midpoint.
A red point labeled is plotted on the coordinate grid between the two example points.
Substitute , , , and into the midpoint formula.
Direct application of .
Simplify the numerators by performing the additions inside each fraction.
Arithmetic simplification of the substituted expression.
Divide each fraction by 2 to obtain the midpoint coordinates.
Arithmetic simplification leading to the final ordered pair.
The midpoint of the segment joining and is .
Step-by-step calculation shown on the board.
Speaker narrates the substitution and simplification.
Substitute the coordinates of the points (-4, -3) and (2, 5) into the distance formula.
Direct application of the distance formula.
Simplify the expressions inside the parentheses.
Arithmetic subtraction.
Square the differences.
Arithmetic squaring.
Add the squared values.
Arithmetic addition.
Take the square root of 100.
Definition of square root.
The distance between the points (-4, -3) and (2, 5) is 10.
Right triangle drawn with legs 6 and 8.
Speaker explains the connection to the Pythagorean theorem.
Calculate the length of the horizontal leg of the right triangle.
Difference in x-coordinates.
Calculate the length of the vertical leg of the right triangle.
Difference in y-coordinates.
Apply the Pythagorean theorem to find the square of the hypotenuse.
Pythagorean theorem ().
Calculate the sum of squares.
Arithmetic.
Find the length of the hypotenuse, which is the distance.
Definition of square root.
The distance formula is a direct application of the Pythagorean theorem to the coordinate differences.
The speaker narrates the calculation step-by-step: 'six squared plus eight squared equals d squared', 'thirty-six plus sixty-four equals d squared', 'one hundred equals d squared', 'making d... equal ten'.
The speaker writes the sequence of equations: , then , then , and finally .
Apply the Pythagorean theorem where the legs of the right triangle are 6 and 8, and the hypotenuse is d.
Pythagorean theorem
Calculate the squares of the leg lengths.
Arithmetic
Add the results of the squares.
Arithmetic
Take the positive square root of both sides to solve for d.
Algebraic manipulation
The distance d between the points (-4, -3) and (2, 5) is 10.
The board lists the example points and , then the substituted midpoint expression, then the result .
A coordinate grid appears; the two given points are plotted, and the midpoint is marked and labeled.
The instructor says, “Let's go ahead and plot these two points,” then computes the midpoint verbally.
Given the two points and , find their midpoint and show it on a coordinate grid.
First point:
Second point:
Compute the midpoint using the midpoint formula and verify its location visually on the graph.
Start from the general midpoint formula.
This is the formula introduced earlier in the clip.
Substitute the coordinates of the two example points.
Replace with .
Simplify the arithmetic to obtain the midpoint.
Evaluate each fraction: and .
Mark the resulting midpoint on the coordinate grid between the two plotted endpoints.
The visual graph confirms the computed point lies halfway between the given points.
The plotted red point labeled lies between the two originally plotted points on the coordinate grid.
Points (-4, -3) and (2, 5) are written and used in the formula.
Points are plotted on a Cartesian grid.
Find the distance between the points (-4, -3) and (2, 5).
Point 1: (-4, -3)
Point 2: (2, 5)
Calculate the distance .
Substitute coordinates into the distance formula.
Distance formula definition.
Perform subtraction inside parentheses.
Arithmetic.
Square the results.
Arithmetic.
Add the numbers under the radical.
Arithmetic.
Evaluate the square root.
Arithmetic.
10
The result matches the visual representation of a 6-8-10 right triangle drawn later in the video.
The board shows the points (-4, -3) and (2, 5) and the setup .
A graph shows a right triangle with vertices at (-4, -3) and (2, 5), with horizontal leg length 6 and vertical leg length 8.
Find the distance between the points (-4, -3) and (2, 5).
Point 1: (-4, -3)
Point 2: (2, 5)
Horizontal difference (leg a): 6
Vertical difference (leg b): 8
Calculate the distance d between the two points.
Substitute the coordinates into the distance formula.
Distance formula
Use the Pythagorean theorem with the horizontal and vertical differences as the legs of a right triangle.
Pythagorean theorem
Square the lengths of the legs.
Arithmetic
Add the squared values.
Arithmetic
Solve for d by taking the square root.
Algebraic manipulation
The result matches the pre-written calculation on the board: .
A dark background filled with floating mathematical symbols transitions to the title card “Mr H Tutoring.”
The lesson title “Midpoint and Distance Formula” appears in red at the upper left.
floating math symbols
title text “Mr H Tutoring”
lesson title “Midpoint and Distance Formula”
Background symbols drift across the screen.
The channel title appears, then the lesson title is shown.
No worked mathematics is presented yet.
The sequence functions as an introduction.
This opening identifies the lesson topic before the instructor begins the explanation.
The board shows the heading “Midpoint,” the points and , and then the formula .
The instructor points to the formula while explaining the averaging process.
heading “Midpoint”
generic points and
midpoint formula
The generic formula is added beneath the two point labels.
The instructor gestures to the x-part and y-part while speaking.
The board remains focused on the symbolic formula rather than a graph.
The visual layout separates the input points from the formula that computes their midpoint.
A blue coordinate grid appears on the left side of the board.
A yellow point is plotted at , a white point at , and later a red point at with the label written beside it.
coordinate grid
yellow point at
white point at
red midpoint at
label
The grid is introduced after the example points are named.
The two endpoint markers appear first, then the computed midpoint is plotted and labeled.
The same example points remain listed on the board while the graph is built.
The midpoint result matches the algebraic computation shown on the right.
The animation connects the algebraic midpoint formula to a visual “halfway point” on the coordinate plane.
The previous midpoint work clears from the board.
A new heading “Distance” appears with and underneath.
The instructor begins introducing the distance-between-two-points topic.
The actual distance formula is not reached within this clip.
heading “Distance”
generic points and
The board content changes from midpoint work to a new section heading.
The instructor shifts from explaining midpoint computation to announcing the distance topic.
The same generic point notation is reused for the next concept.
This visual reset marks a new subtopic within the same lesson.
Points (-4, -3) and (2, 5) appear on the Cartesian grid.
Cartesian grid
Point (-4, -3)
Point (2, 5)
Points appear at their respective coordinates.
Grid structure remains constant.
Visualizes the location of the points for which the distance is being calculated.
A right triangle is drawn connecting the two points with horizontal and vertical legs.
Two points
Horizontal leg
Vertical leg
Hypotenuse
Lines are drawn to form a right triangle.
Leg lengths 6 and 8 are labeled.
The two original points remain fixed.
Demonstrates how the coordinate differences form the legs of a right triangle, with the distance as the hypotenuse.
A Cartesian coordinate system is drawn with a blue line segment connecting (-4, -3) and (2, 5). A right triangle is formed with horizontal and vertical dashed lines, labeled with lengths 6 and 8.
Coordinate plane
Points (-4, -3) and (2, 5)
Right triangle
Legs of length 6 and 8
Hypotenuse d
Speaker writes the Pythagorean theorem equation below the graph.
The geometric relationship between the points and the triangle remains constant.
The distance between two points can be visualized as the hypotenuse of a right triangle whose legs are parallel to the axes.
Speaker explicitly addresses this potential confusion.
Students might think the order of subtraction (e.g., vs ) matters for the final distance.
The order does not matter because the difference is squared, so .
The example points and are placed directly beside the general midpoint setup and then substituted into the formula.
The worked example applies the general midpoint formula to specific coordinates.
The board shows the substitution and simplification steps that produce the example answer.
The example’s final answer depends on the numerical derivation shown step by step on the board.
After finishing the midpoint section, the board clears and a new “Distance” heading appears with the same generic point notation.
The instructor says, “And here is how you find the distance between two points.”
The clip ends before the distance formula is stated, so the relation is only a topic transition rather than a fully developed comparison.
The lesson moves from computing a midpoint between two points to setting up a different task: finding the distance between two points.
Speaker states the distance formula comes from the Pythagorean theorem.
Visual proof using a right triangle.
The distance formula is derived from and relies on the Pythagorean theorem applied to coordinate differences.
The speaker uses the Pythagorean theorem to derive the distance, which is the core concept behind the distance formula shown on the board.
The distance formula is derived from the Pythagorean theorem applied to the horizontal and vertical differences between two points.
The board explicitly displays the midpoint formula.
The instructor explains the averaging procedure in words.
The instructor describes adding the x-values and y-values separately and dividing each sum by 2.
The worked example shows substitution and simplification.
The example uses and and arrives at .
The midpoint is plotted on the coordinate grid.
The instructor says the formula takes the average of the x-values and the average of the y-values to get the halfway point.
A new heading “Distance” appears with and .
The instructor begins introducing the distance between two points.
The distance formula itself is not present in this clip.
Formula presented.
Explanation provided.
Connection explained.
Visual demonstration.
The entire segment demonstrates finding the distance between two specific points.
Covered · Introductory title animation and lesson title; no worked mathematics yet.
Covered · Instructor announces that the lesson will cover midpoint and distance, then starts with midpoint.
Covered · General midpoint setup and formula are introduced and explained.
Covered · Worked midpoint example with substitution, simplification, plotted graph, and final midpoint.
Covered · Board clears and the distance topic is introduced, but the clip ends before the distance formula is shown.
Covered · Introduction of the distance formula and clarification on subtraction order.
Covered · Worked example calculating the distance between two specific points.
Covered · Explanation and visual derivation of the distance formula using the Pythagorean theorem.
Covered · The speaker explains and calculates the distance between two points using the Pythagorean theorem and the distance formula.
Covered · Outro screen with subscription prompts and background music; no mathematical content.
Reviewed English material v1: card "Distance Formula" at 2:03 — The distance between two points and is given by . Note that the order of subtraction does not matter because the terms are squared.
Reviewed English material v1: card "Connection to Pythagorean Theorem" at 3:28 — The distance formula is derived from the Pythagorean theorem. The differences in x and y coordinates form the legs of a right triangle, and the distance is the hypotenuse. For the example points, the legs are 6 and 8, so , meaning .
 YouTube5:16
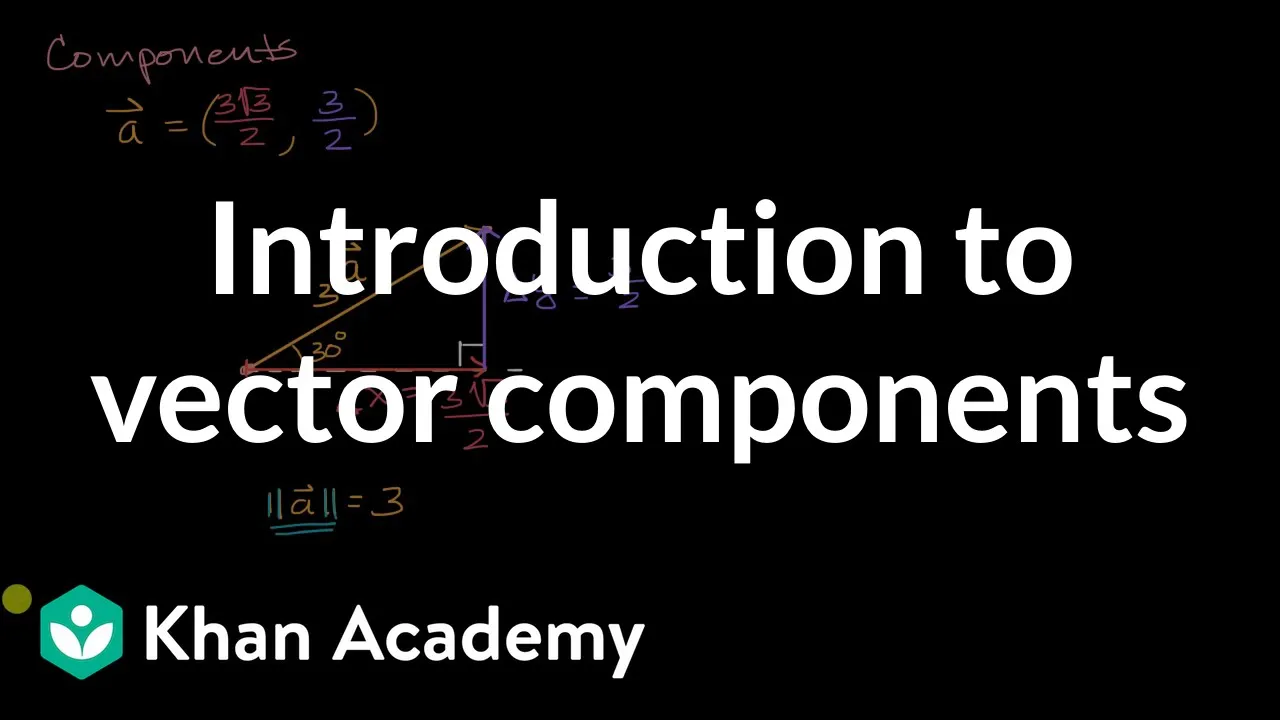
Another application of Pythagorean theorem.
Pythagorean theorem YouTube3:05
Another application of Pythagorean theorem.
Pythagorean theorem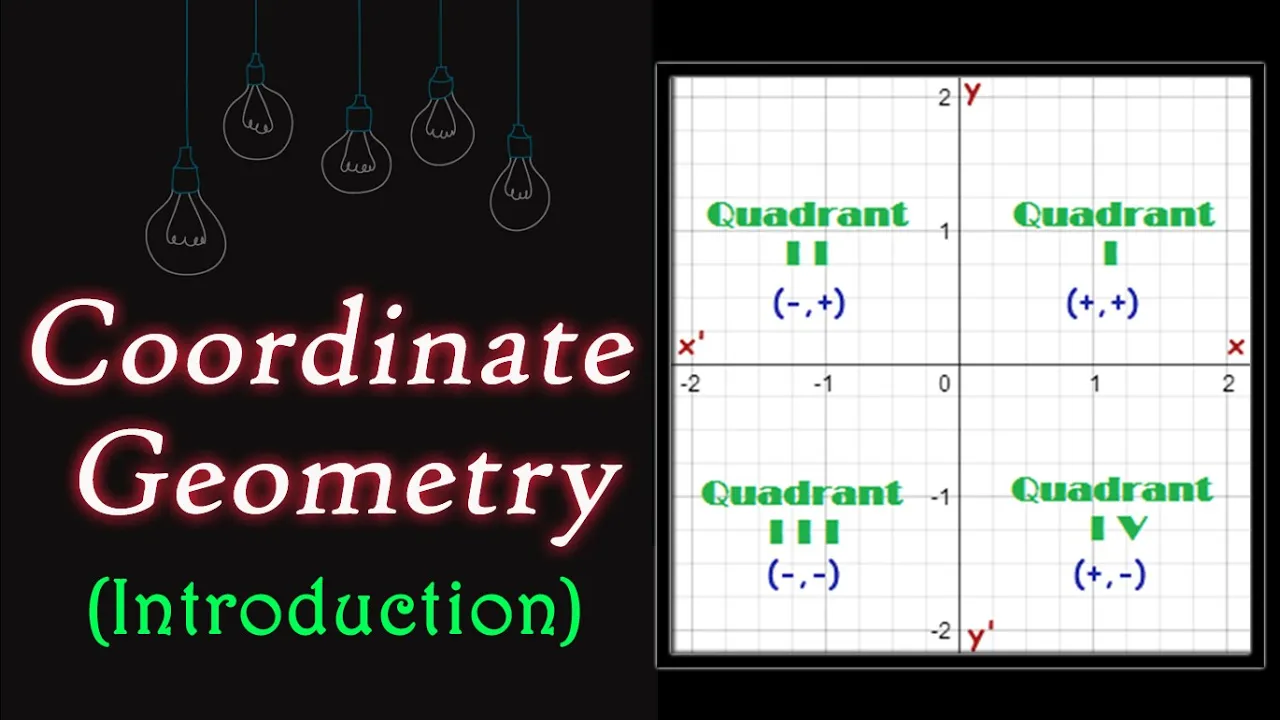 YouTube4:50
Prerequisite in Geometry: Coordinate geometry → Distance formula.
Coordinate geometry · View learning sequenceYouTube5:16Whiteboard for Pythagorean theorem, compared with the current lecture.
Pythagorean theorem YouTube6:06
Application of Distance formula, complementing the current explanation.
Distance formulaYouTube3:05Whiteboard for Pythagorean theorem, compared with the current lecture.
Pythagorean theorem